My garage is not a nice place.
It's a standard two-car garage with a concrete floor, a workbench I built from plywood and 2x4s, and enough sawdust to make a small forest. The lighting is fluorescent and unforgiving. The heater is a propane tank that I'm pretty sure is older than I am. It's not a workshop. It's a place where things get built, poorly, and then get rebuilt, slightly better.
I spend a lot of time in that garage. Not because I'm good at woodworking. Because I'm bad at it, and I'm trying to get better, and the only way to get better is to make things that fail and then make them again.
The thing I've been making lately is a corner shelf. A simple one. Three shelves, stacked vertically, each one a quarter-circle that fits into a 90-degree corner. The kind of thing you could buy at IKEA for forty dollars.
I've built four of them. The first one wobbled. The second one was too deep. The third one was too shallow. The fourth one is in my living room, and it fixed a dead corner that had been bothering me for three years.
Here's how I built it. And here's why it works.
The Problem I Was Trying to Solve
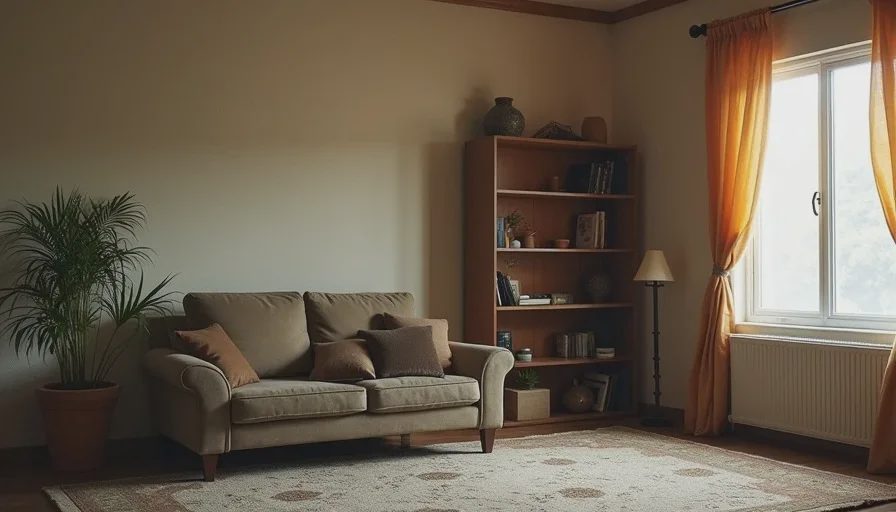
My living room has a corner. Southwest corner, if you're keeping track. It's been dead since we moved in. I put a plant there. The plant died. I put a chair there. Nobody sat in it. I put a floor lamp there. The lamp worked, but it didn't fix the corner — it just lit it up so I could see how dead it was.
The problem was verticality. The corner had no height. It was just floor and walls, meeting in a 90-degree angle that went straight up to the ceiling. There was nothing to stop the eye, nothing to give the corner a sense of scale.
A corner shelf is a vertical intervention. It gives the corner a spine. It creates a series of surfaces that draw the eye upward. It breaks the vertical plane into manageable sections.
The lamp was a horizontal fix. The shelf is a vertical one. The corner needed both.
The Design
I wanted something simple. No frills. No curves. Just three quarter-circle shelves, evenly spaced, supported by a single vertical board that runs from floor to ceiling.
The dimensions:
Shelf radius: 18 inches (deep enough for a book, a plant, or a small lamp)
Shelf thickness: 3/4 inch
Shelf spacing: 12 inches between shelves
Vertical board: 2 inches wide, 3/4 inch thick, full height of the corner (8 feet)
The material:
Walnut. Because it's warm, it's dark, and it absorbs light instead of reflecting it. A dead corner needs something that doesn't compete. Walnut is quiet. Walnut is presence without noise.
The joinery:
Each shelf is supported by a single bracket underneath, anchored to the wall. The bracket is hidden — you can't see it from the front. The shelf appears to float.
The Build
Step One: Cutting the Shelves
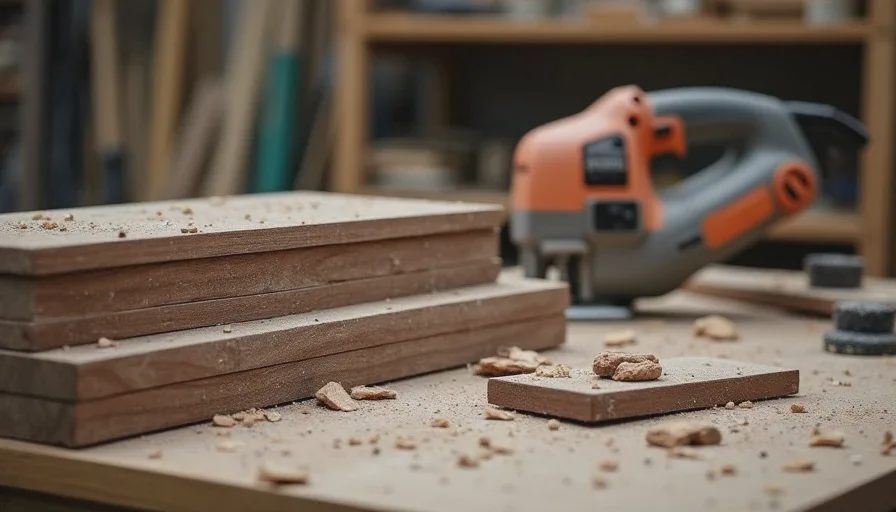
I drew a quarter-circle on a piece of walnut. I cut it out with a jigsaw. Then I sanded it. Then I sanded it again. Then I realized it was the wrong radius, so I started over.
The second one was the right radius but the wrong thickness. I'd bought 1/2-inch stock instead of 3/4-inch. The shelf looked flimsy. I started over.
The third one was the right radius and the right thickness, but I cut it with a dull blade. The edge was rough. I sanded it for an hour. It was still rough. I started over.
The fourth one was the right radius, the right thickness, and I used a new blade. The edge was clean. I sanded it to 220 grit. It was smooth. I had a shelf.
I made three of them. Each one took about an hour, including the mistakes.
Step Two: The Vertical Board
I cut a piece of walnut to 8 feet. I sanded it. I drilled holes for the shelf brackets. I countersunk the screws. I attached the brackets to the board.
Then I realized I'd placed the brackets too close together. The shelves would be too high for the bottom shelf and too low for the top shelf. I moved them. I drilled new holes. I filled the old holes with wood filler and sanded them smooth.
Step Three: Assembly
I attached the vertical board to the wall. I used heavy-duty wall anchors. The board needed to hold three shelves, plus whatever I put on the shelves. It needed to be solid.
I attached the shelves to the brackets. Each shelf had a single screw underneath, hidden from view. The shelves floated. The brackets were invisible.
Step Four: The Finish
I applied a coat of danish oil. Walnut darkens with age. The oil brought out the grain. The color deepened.
I let it dry overnight. I put a small plant on the bottom shelf. A book on the middle shelf. A small ceramic bowl on the top shelf.
The corner was no longer dead.
Why It Works
The corner shelf works for three reasons.
First, it creates verticality. The corner now has a spine. The shelves draw the eye upward. The space feels taller. The corner feels occupied.
Second, it creates surfaces. A dead corner has no surface. It's just walls and floor. The shelf gives the corner a series of surfaces, each one a place for something to land. The plant lands on the bottom shelf. The book lands on the middle shelf. The bowl lands on the top shelf. The corner is now a destination.
Third, it changes the airflow. The shelves break up the vertical plane. Air doesn't just travel up the corner — it moves around the shelves, over the shelves, between the shelves. The corner is no longer a chimney. It's a series of small spaces, each one with its own microclimate.
The old texts would say the corner now has "qi." I would say the air is now moving differently. We're both right.
What I Put on the Shelves
Bottom shelf: A small plant. Snake plant. It reaches up, continuing the vertical line.
Middle shelf: A book. Not a decorative book — a read book. The spine is cracked. The pages are worn. It anchors the shelf.
Top shelf: A ceramic bowl. Small. Warm. Handmade. It catches the light from the window and reflects it back into the room.
The corner is now a story. The plant says "growth." The book says "depth." The bowl says "warmth." The three shelves hold the story together.
The Plans
If you want to build one yourself, here's what you need.
Materials:
One piece of walnut, 8 feet long, 2 inches wide, 3/4 inch thick (the vertical board)
Three pieces of walnut, 18 inches square, 3/4 inch thick (the shelves)
Three shelf brackets, heavy-duty, 6 inches deep (you can order these online)
Wood screws, 1-1/4 inches long, countersunk
Heavy-duty wall anchors (for the vertical board)
Danish oil or similar finish
Tools:
Jigsaw (or circular saw)
Sandpaper (80, 120, 220 grit)
Drill
Countersink bit
Level
Tape measure
Pencil
Instructions:
Cut the three shelves to a quarter-circle shape. The radius should be 18 inches. Use a jigsaw and a smooth blade.
Sand the shelves to 220 grit. Round the edges slightly.
Cut the vertical board to 8 feet (or to the height of your corner).
Sand the board to 220 grit.
Attach the shelf brackets to the vertical board. Place the bottom bracket 12 inches from the floor. Space the other brackets 12 inches apart. Use a level to make sure they're straight.
Attach the vertical board to the wall. Use heavy-duty wall anchors. Check that it's plumb with a level.
Attach the shelves to the brackets. Use a single screw underneath, countersunk.
Apply danish oil to all exposed surfaces. Let dry overnight.
Put things on the shelves.
The Variation
If you don't have a garage or a jigsaw, you can order a corner shelf online. Just make sure it's wood, not metal or glass. The corner needs warmth. Metal and glass are cold. Wood is the right material.
If you can't find a quarter-circle shelf, use a triangular one. The shape is different, but the principle is the same: verticality, surfaces, and a break in the airflow.
If you can't find a triangular shelf, use a series of small shelves on the same wall. Three shelves, evenly spaced, each one holding something small. The effect is similar: the corner becomes occupied.
What I Learned From Building It
I learned that a dead corner is not a problem. It's a lack of verticality. The corner is waiting for something to climb it. A shelf is the climber.
I learned that the right material matters. Walnut is quiet. Pine is loud. Oak is assertive. The corner needs presence, not noise. Walnut is the right choice.
I learned that the process is the point. The first three shelves were mistakes. The fourth one was good. The process of making mistakes is the process of getting it right.
I also learned that June is a better woodworker than I am. She came into the garage while I was working on the fourth shelf. She watched me sand it.
"Dad, you're doing it wrong."
"What do you mean?"
"You're sanding with the grain. You should sand against it, then with it."
She was right. I switched. The shelf was smoother.
She's nine. She learned that in school.
The Before-and-After
Before: dead corner. After: occupied corner.
Before: energy pooling. After: energy circulating.
Before: a place I walked past. After: a place I stop at.
It took four tries. It took about six hours, not counting the mistakes. It took less than fifty dollars in materials.
And the corner is no longer dead.
That's a good return on investment.


No notes yet — write the first.